Saddle Stitched Chapbook: Mister Mottley and the Key of D
My wife, Ellen Seltz, is a writer who has created a vintage-style mystery series based on a character named Edmund Mottley. In addition to her novels, she has written a number of short stories featuring the same character. She normally gives away digital copies of the short stories as part of her marketing efforts. Recently, she was giving a talk to a local group about the research she did on the location for her latest novel. She wanted something to give to all of the people attending, so I decided to create a chapbook of one of her short stories – Mister Mottley and the Key of D.
A chapbook (usually called a pamphlet in the UK) is basically a small paperback booklet, typically containing poems or short fiction. Popular literature has been distributed this way since the 16th century. In the printing industry this method of binding is called a saddle stitch and is usually done with a metal staple passing through the spine crease and secured to the center most pages.
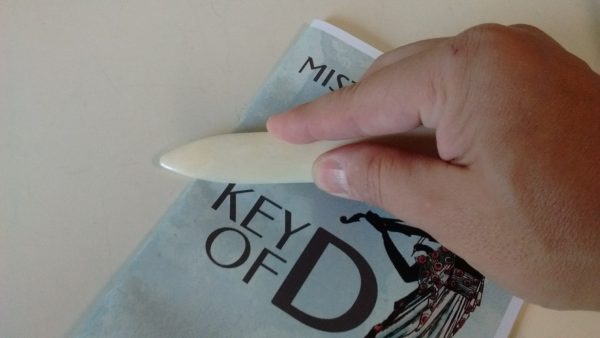
This is a super easy and fast method of binding a book that produces an extremely secure and durable binding. You only need one special piece of equipment – a Long Reach Stapler. These are relatively inexpensive (about $30 US) and not difficult to find. I also use a bone folder to press the crease in the spines of my chapbooks after folding.
Printing the Chapbook Covers
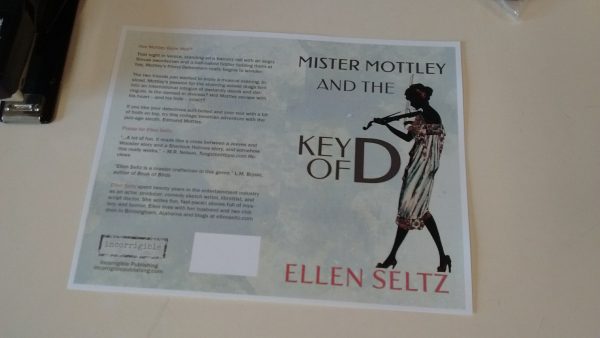
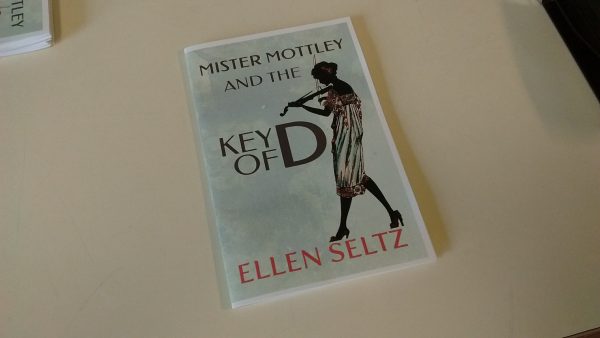
My wife designed the covers for this book, so I just needed to print them onto heavy card stock. I was working with a color laser printer, so I did not need to apply any lamination or fixative to the outside to protect the color print. My printer cannot print to the edges of the page, so I had to accept the fact that there would be a white border around the outer edges.
If I had access to a stack cutter I might have trimmed the edges to remove the border. But, for this project, the border was an acceptable compromise. I could have also added a white stripe over the spine and made the border look like part of the design.
Printing the Interior Pages
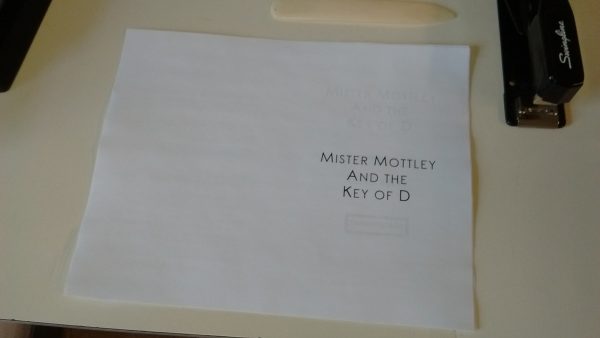
The design for the interior pages was created based on a half size page of US standard letter paper (5.5″ x 8.5″) and exported to a PDF file. I printed the interior pages using Adobe Reader. There is a booklet setting under the ‘Page Size & Handling’ section in the print dialog box. This takes care of imposing the correct page order for printing. My home printer handles 2-sided printing by printing all of the odd sides first, then I flip the paper and run it through the printer again to print the even sides. More expensive printers will print both sides in one pass, reducing the chances of pages getting out of order.
Binding the Pages with a Long Reach Stapler
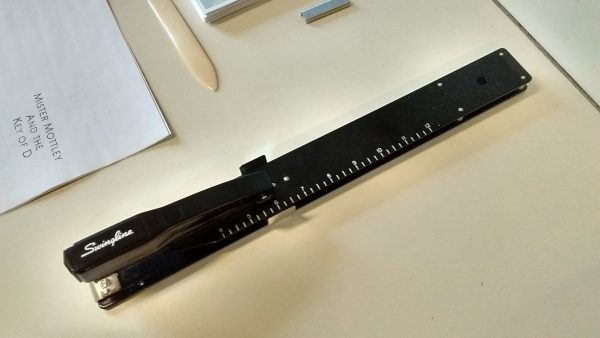
As I mentioned in the introduction, a Long Reach Stapler is the only real piece of special equipment needed for this project. I have a model made by Swingline. It is basically a regular stapler attached to an extra long metal arm. This allows you the extra room needed to line the stapler up with the spine of your booklet.
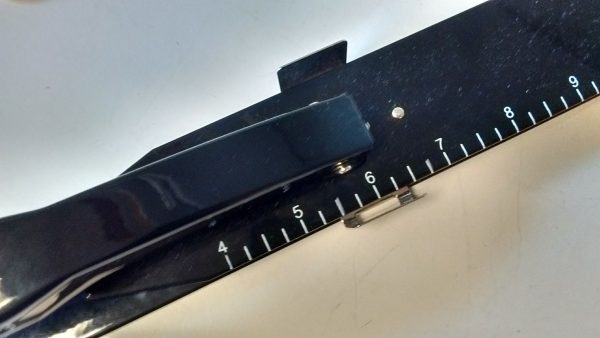
There is an integrated ruler and adjustable locking paper guide that helps you line the paper up precisely to place the staple exactly on the spine. The picture above shows my paper guide set to stop the paper when the staple head is 5 1/2 inches from the edge.
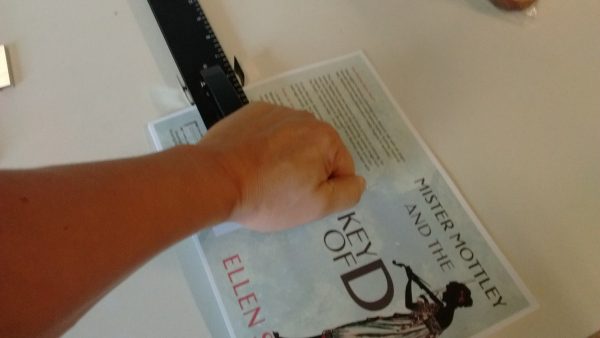
Once the stapler paper guide was properly adjusted, I placed a cover on top of a stack of interior pages, squared all the edges together, and stapled it twice along the spine.
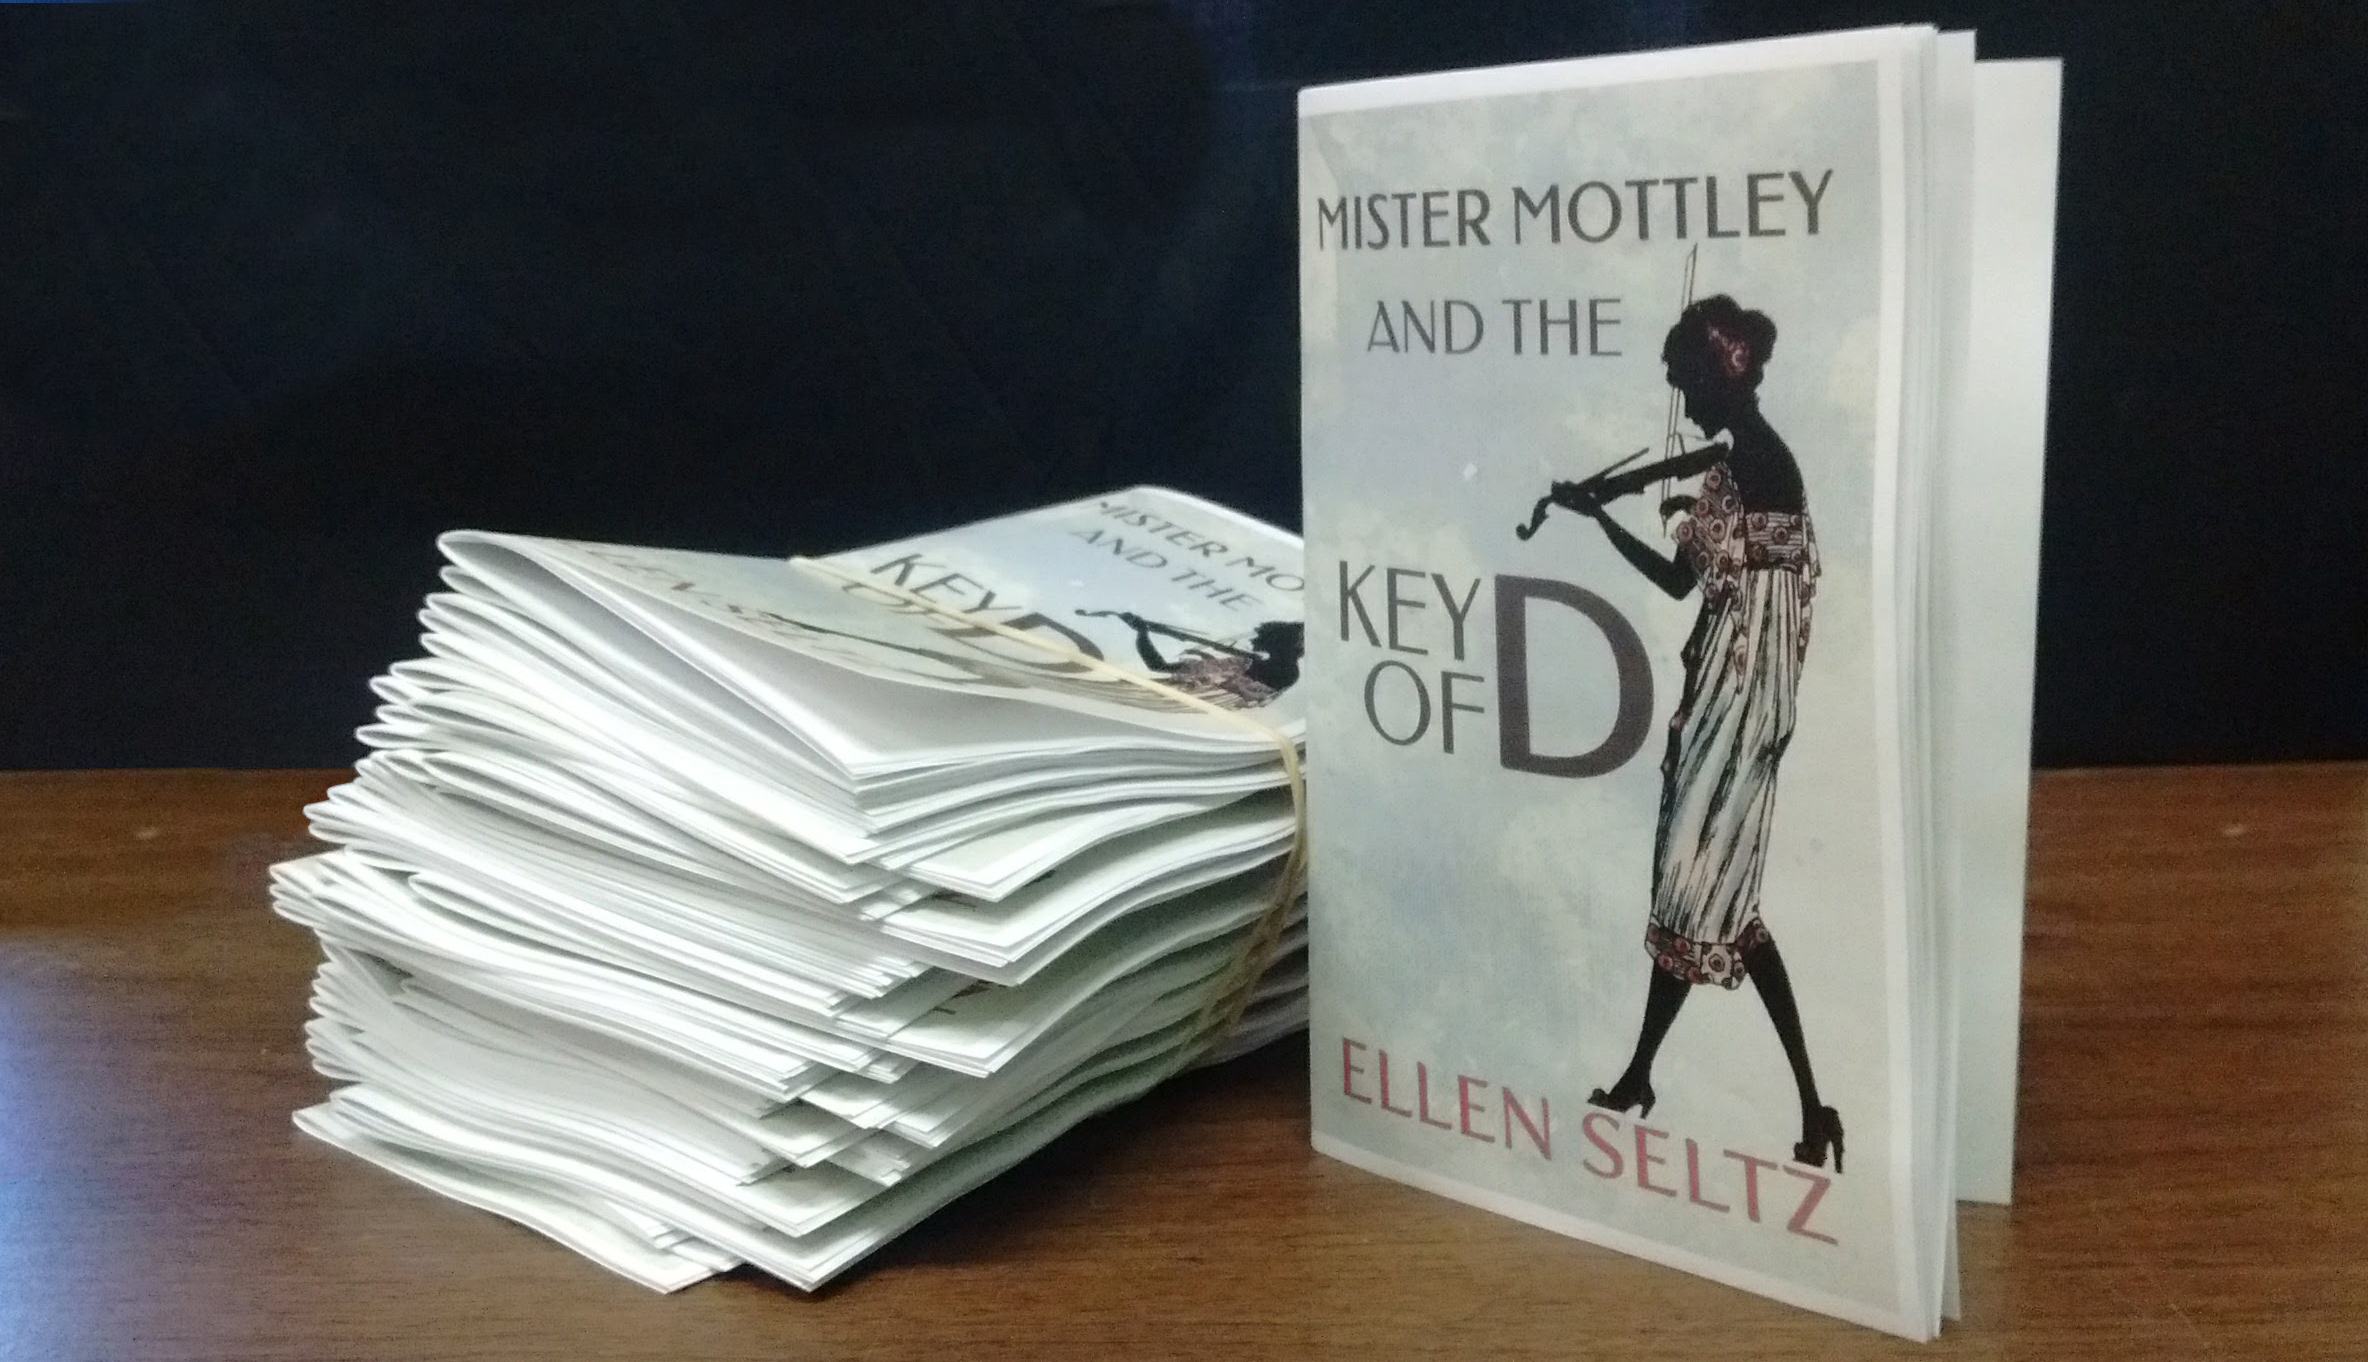
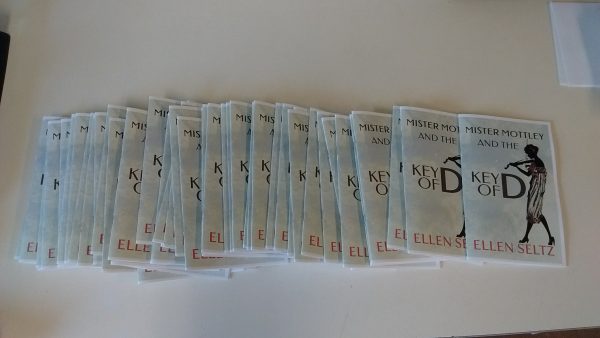
I did this 49 more times to create a stack of 50 saddle stitched chapbooks!
Folding and Finishing the Chapbooks
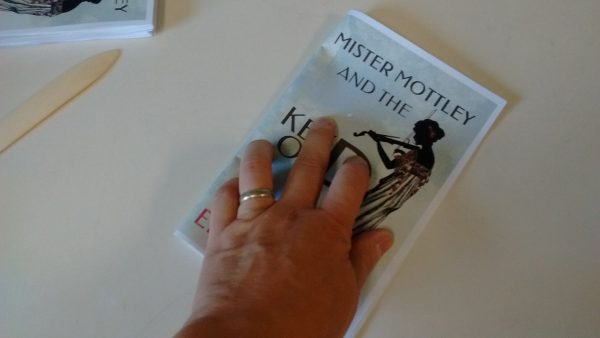
The final step of the chapbook binding process was to fold the books in half and then use the bone folder to press a nice crease in the spine. Having the pages securely bound together makes it easy to fold the book. You just line up the corners and run your hand along the spine to set the fold. If you do everything right, the staples will be exactly on the edge of the fold giving you an easy visual reference for whether everything is straight.
When I’m creating one or two chapbooks I might not bother digging out my bone folder and just use the edge of a ruler or my thumb to press the crease into the fold. But, when you are doing a big pile of chapbooks, the process goes faster (and my fingers hurt a lot less) when I use the right tool.
The Finished Product – 50 Chapbooks
After about 45 minutes of stapling, folding, and creasing, here is my finished collection of chapbooks for Mister Mottley and the Key of D! I think they turned out very nice and the folks who showed up for Ellen’s talk loved having a Mister Mottley story to take home with them.
Inspired by this experience, I am going to create a video tutorial where I create a version of this same chapbook but wrap it in a hard cover instead of a simple card stock cover. I think that would make a very nice ‘premium edition’ of this short story.
Do you have any questions about this project or suggestions for improving it? Please leave a comment below!



September 17, 2017 @ 6:19 pm
Dear sir, this is very interesting. I would like to ask how many pages there are in this booklet? Where does an edition stop being a booklet/chapbook and become a book?
Best regards from Kopavogur, Iceland
September 17, 2017 @ 8:45 pm
The page limit for chapbooks/booklets is mostly determined by the ability to bind everything together in one fold. 40-64 pages would be the upper limits for page count depending on the thickness of the paper you use. There is no strict official definition of what is a chapbook.
Historically, a chapbook referred to an inexpensively printed and bound booklet produced with a paper cover in short runs that was sold by an itinerant salesman called a ‘chapman.’
My first exposure to the idea of a chapbook was a collection of poetry mixed with line-drawings self-published by a friend in college. Back then, chapbooks were an easy and affordable way to get published. Now, most people just make an e-book.
Andrew