Hardcover Chapbook 1.0
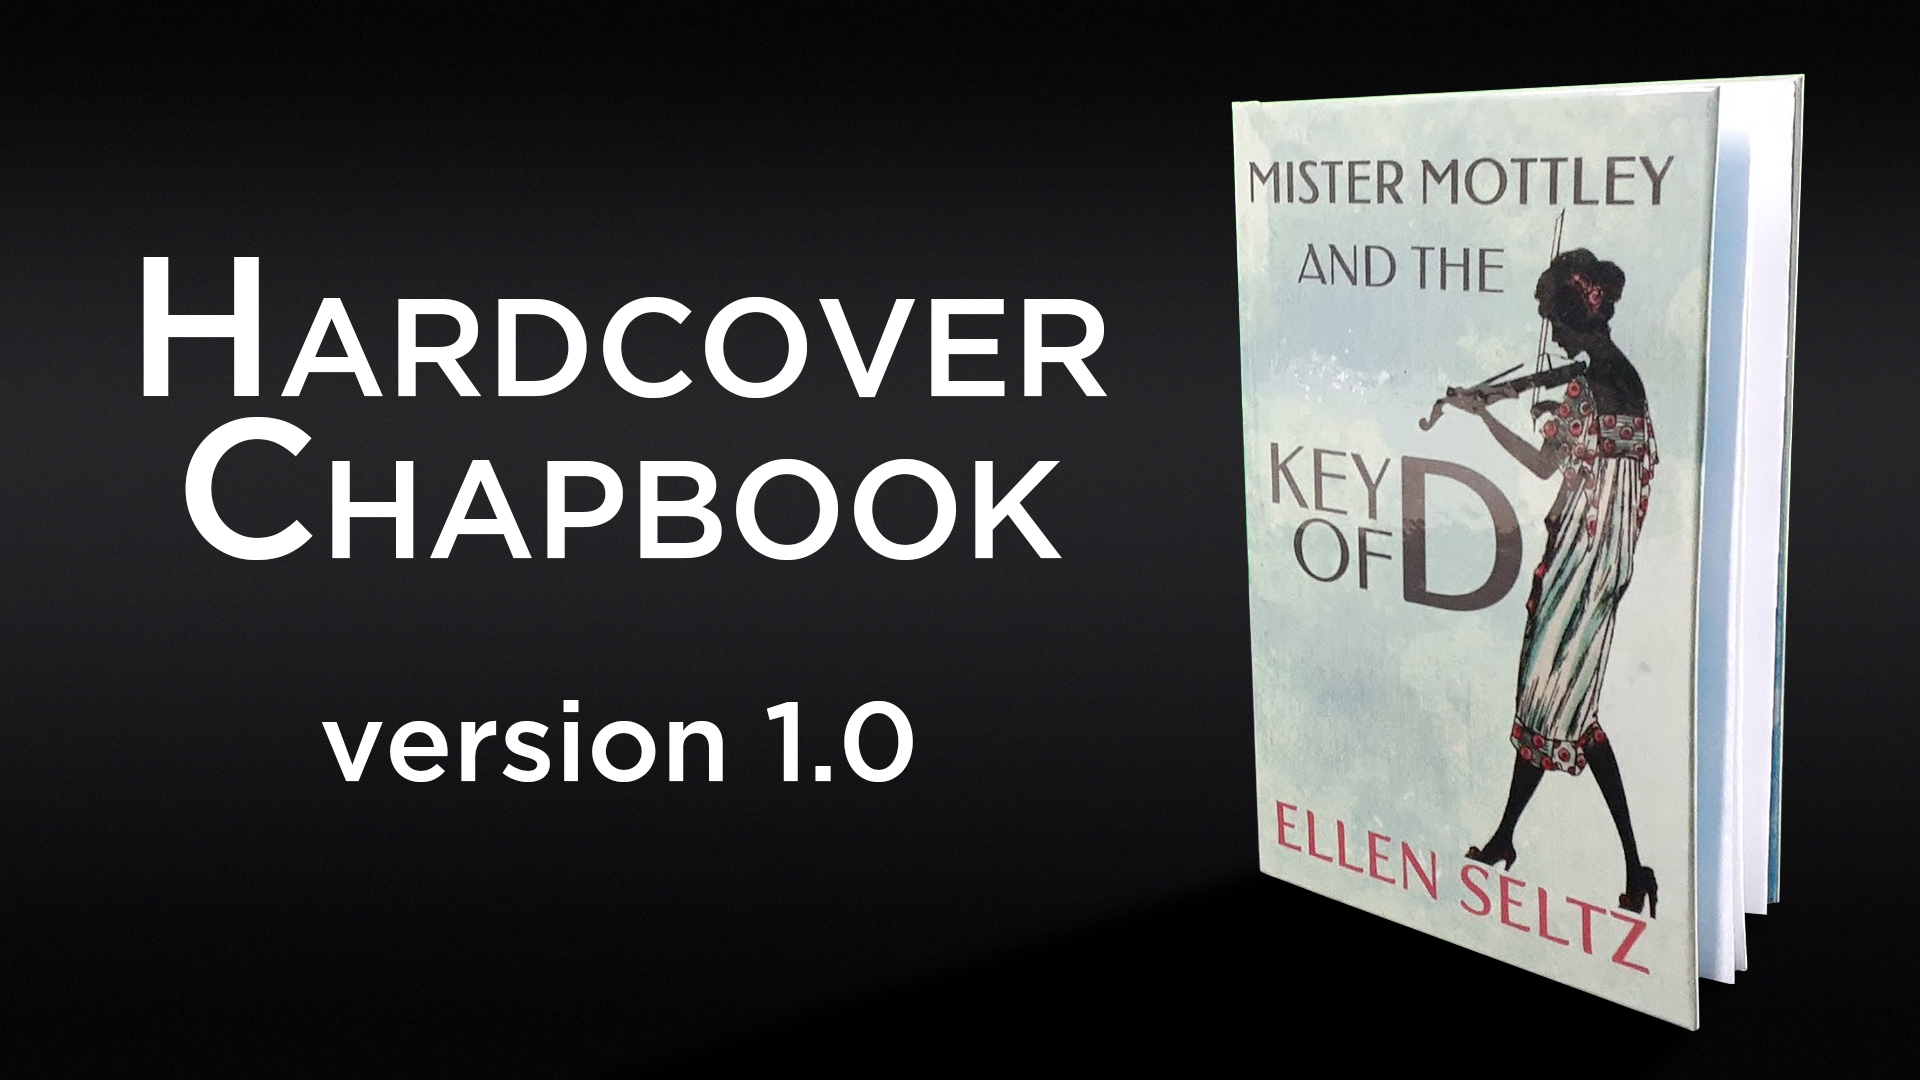
I’ve been planning a new project that is a cross between a plain old booklet-style chapbook and a hardcover. My wife has written a number of short stories about the main character from period mystery novels. The novels are available in print editions, but the short stories are digital only. So, I decided to take one of my favorites (Mister Mottley and the Key of D) and dress it up a little.
This book is version 1.0. I’m testing out the process and gathering notes for a second version that will also be filmed for the YouTube channel. At the end of this post I’ll let you you what I plan to do differently for the next edition.
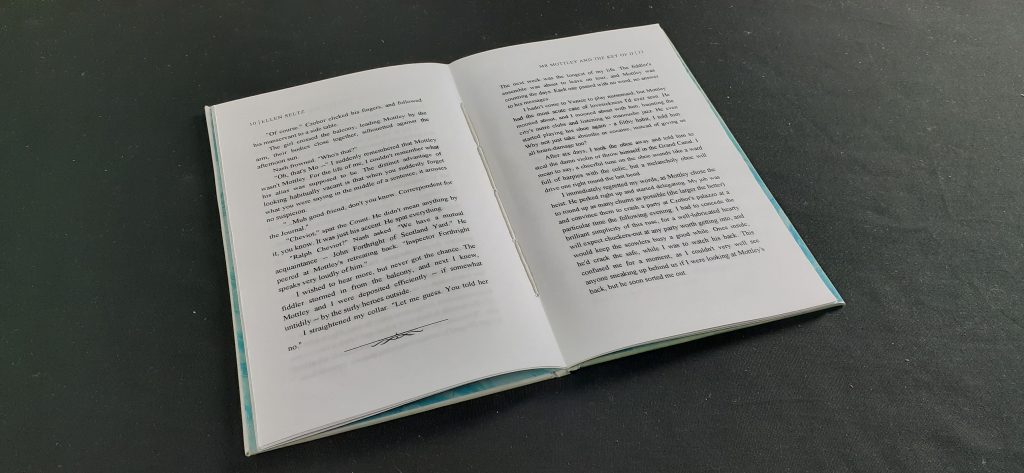
Normally I just use staples to create booklets of this size, but I decided to class this up a little by stitching the binding. I tied-off the waxed-thread on the outside of the spine so it gets hidden by the cover.

The stitch pattern for the spine uses 5 holes. The first and last stitch both go through the center hole and tie around a section of the thread that crosses over that center hole. That creates a nice secure knot to keep the binding secure.
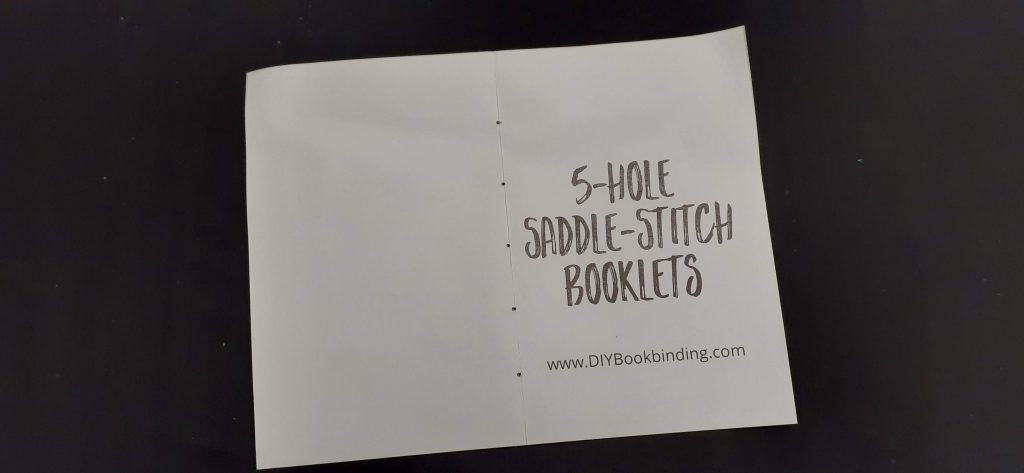
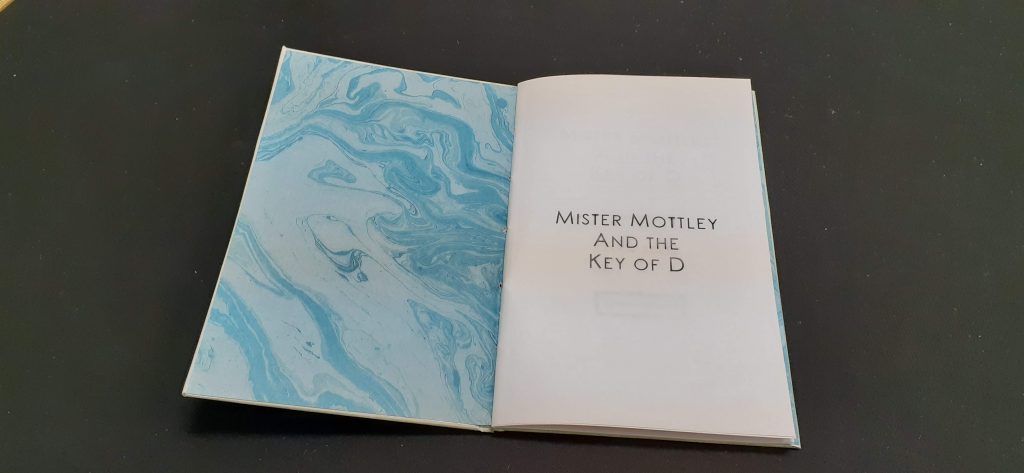
I used a little 5-hole punch guide I created to punch the holes in the paper with my awl before stitching. I added a page of heavy marbleized paper to the outside of the pages to serve as end pages to secure the book block to the covers.
The cover design was one of the trickiest parts of this project. There is not much spine to speak of with a chapbook, so there was a little experimentation and guesswork involved in figuring out how much of a spine gap to leave for the book boards.
It turns out that the math is the same as what you would do for a full sized book. Leave a 1/4″ gap with no book board at the spine, front and back, for a hinge plus the thickness of the paper. I cut my book boards too long and had to trim away the 1/4″ after everything had been glued together. It was messy and imperfect, but it worked out in the end.
When the book was completely glued together and dry, I used my bone folder to place a crease in the cover along the edge of the book board at the hinge. This gave a nice clean edge and made the cover look very nice.
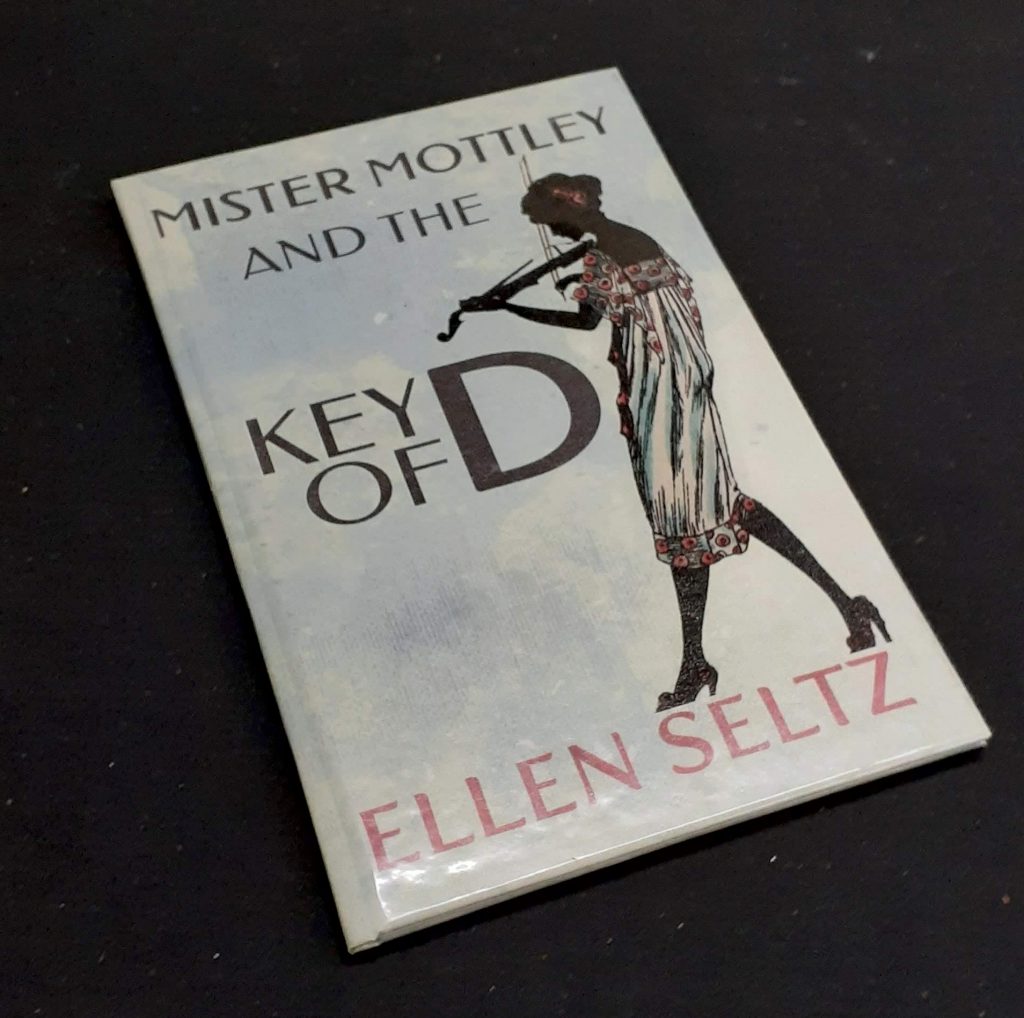
One adjustment I will make in the next edition is to shift the cover graphics slightly to the right. The current design is centered over the entire area of the cover. But, the crease at the hinge really defines the left edge visually. So, the design should really center between the hinge and the right edge. I’ll have to open up Photoshop and play around with that spacing to see what looks best – it just feels off right now.
Lessons Learned for the Next Edition
Overall I was very pleased with the way this first edition turned out. But, I’ll be making a few changes for the next version.
The biggest change will be my interior paper. I used the closest paper at hand to print the interior pages and it was too thin. Run of the mill copy paper is fairly thin and light weight. This caused a few issues.
First, the printing on the back sides of the paper shows through. It also absorbed moisture from the glue when the cover was applied and warped the pages a little. Finally, it just feels flimsy.
The paper I used is not awful, but my goal is to give this little book a high quality feel. So, I’ll be upgrading to a 32lb (120 gsm) paper for the interior on the next edition.
I already mentioned the changes I plan to make for the cover. Mostly some small adjustments to the position of the cover design and adjusting the width of the book boards.
To further strengthen the binding, I plan to add a strip of binding tape over the outside of the spine. This will add a little extra strength to the end paper and also lock in the stitching so it doesn’t shift around and tear into the paper.
I’m toying with the idea of adding full-sized end papers to the front and back of the book instead of one sheet sewn into the booklet. This would involve gluing then to the front and back pages along the spine before adding the tape to the spine. I may do two versions to see which I like best.
Do you have any suggestions for ways to improve this project? Leave a comment below and share your ideas. If you make your own version of a hardcover chapbook, send me a photo – I’d love to see it!



Attain It Yourself Bookbinding - JellyEnt
December 18, 2020 @ 8:46 pm
[…] Hardcover Chapbook 1.0 […]